

How to Install WordPress on Hostinger in Steps
Starting a website might feel intimidating, especially if it is your first time opening a hosting dashboard. I still remember how nervous I was when I installed WordPress for the first time. I kept refreshing the page, convinced I would break something. The truth is, even if you have never built a website before, Hostinger makes the process surprisingly simple.
This guide walks you step by step through how to install WordPress on Hostinger using clear language and real world context. By the end, you will have a live WordPress website that you can customize and grow with confidence.
Why You Should Host Your WordPress Site With Hostinger
Before installing WordPress, it helps to understand why Hostinger is such a popular choice for both beginners and experienced users.
Key Benefits of Hostinger for WordPress
• Simple hPanel dashboard designed for beginners
• One click WordPress installation
• Fast servers optimized for WordPress performance
• Free domain and SSL certificate on most plans
• Affordable pricing with no hidden costs
Hostinger WordPress hosting makes it easy to build a blog, business website, or portfolio without technical stress.
Things You Need Before Installing WordPress
Before we begin, make sure the following items are ready.
Requirements Checklist
• An active Hostinger hosting plan
• A domain registered with Hostinger or a temporary domain
• Access to your Hostinger account dashboard
If you already purchased hosting, you are ready to proceed. If not, complete the signup first and return here.
How to Install WordPress on Hostinger Using hPanel

This is the most common and beginner friendly method. Hostinger designed hPanel so you can install WordPress without touching code or databases.
Step 1 Log in to Your Hostinger Account
Visit the Hostinger website
Click Login and enter your credentials
You will be taken to the main dashboard
Once logged in, select the hosting plan where you want to install WordPress.
Step 2 Open the Auto Installer
From your hosting dashboard:
Click Websites from the left menu
Select your domain
Locate and open the Auto Installer
Hostinger offers multiple applications, but we will focus only on WordPress.
Step 3 Choose WordPress
Click Select next to WordPress
You will be taken to the setup screen
Many beginners pause here, but every field is straightforward and easy to understand.
Step 4 Enter Your WordPress Details
You will be asked to provide:
• Website name
• Admin email address
• Admin username
• Admin password
Choose a strong password and store it securely. These credentials give full access to your WordPress site.
Step 5 Complete the Installation
Click Install
Wait for the progress bar to complete
Within one or two minutes, WordPress will be successfully installed. You will see a confirmation message with your WordPress login URL.
Your WordPress website is now live.
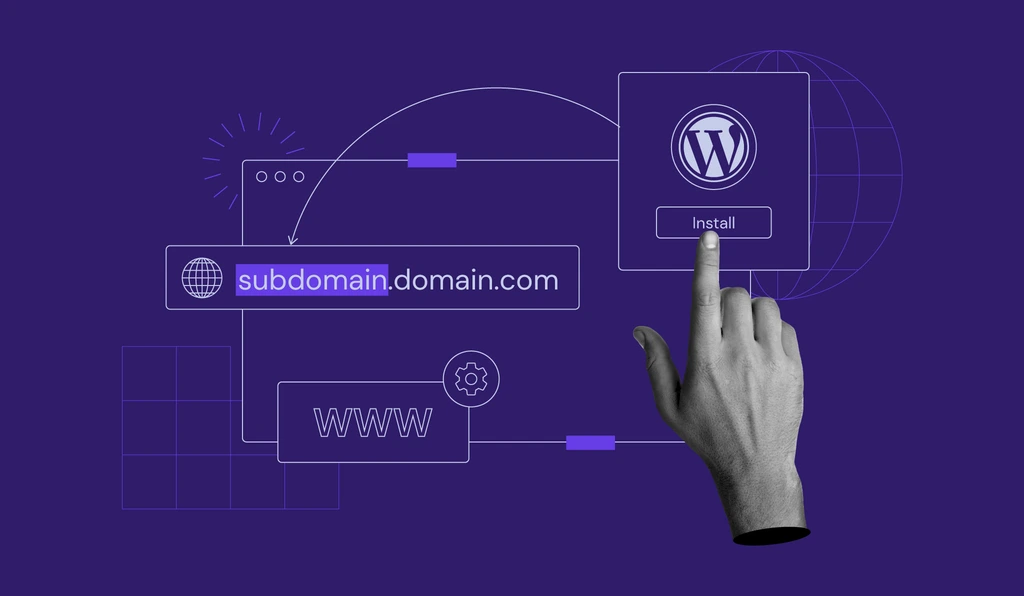
How to Install WordPress on a Hostinger Subdomain
A subdomain is useful if you want a test site, landing page, or separate blog.
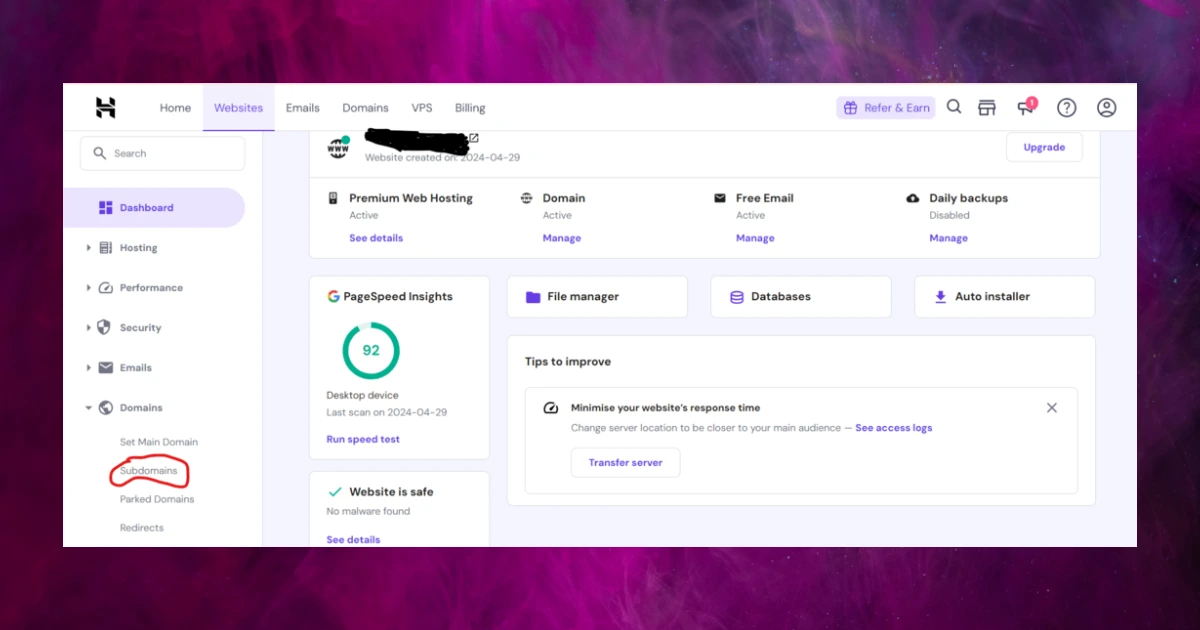
Step 1 Create a Subdomain
Go to Domains in hPanel
Select Subdomains
Enter your subdomain name
Click Create
Example: blog.yourdomain.com
Step 2 Install WordPress on the Subdomain
Return to the Auto Installer
Select WordPress
Choose the new subdomain from the list
Enter admin details and install
This setup is ideal for testing or staging without affecting your main site.
How to Access Your WordPress Dashboard
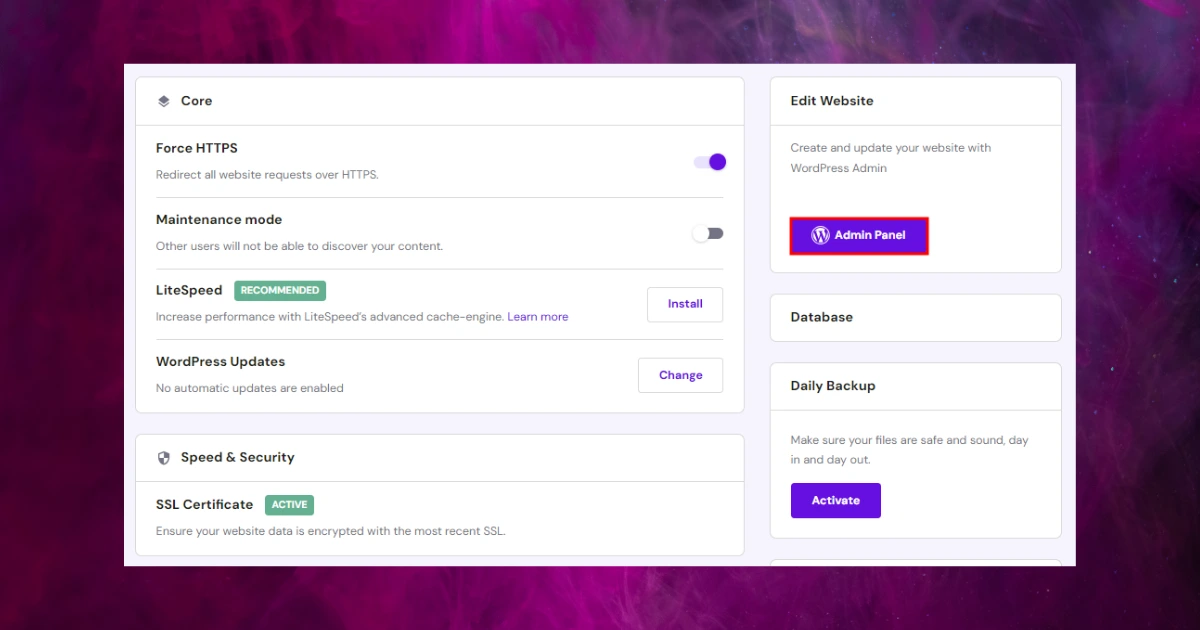
After installation, log in by visiting:
yourdomain.com wp admin
Enter the username and password you created earlier. From here, you control everything on your site.
This is where the real journey begins.
Common Problems Beginners Face and How to Fix Them
Even with one click installation, small issues can occur.
WordPress Not Loading After Installation
This usually resolves within a few minutes. Clear your browser cache or wait for DNS propagation.
Forgot WordPress Admin Password
Use the Forgot Password option on the login page or reset it directly from hPanel.
SSL Not Working
Enable SSL from the Security section in hPanel. Most Hostinger plans include it for free.
What to Do After Installing WordPress
Installing WordPress is just the first step. Here is what you should do next.
Important Next Steps
• Install a lightweight theme
• Add essential plugins for security and SEO
• Create your first page and blog post
• Configure site settings and permalinks
Completing these steps early saves time and frustration later.
Final Thoughts
Installing WordPress on Hostinger is one of those early wins that builds confidence instantly. What once felt technical suddenly becomes manageable. Hostinger simplifies the entire process so you can focus on what truly matters, creating content, attracting readers, or growing your business.
If you are planning to build a WordPress website, Hostinger WordPress hosting is an excellent place to start.
Frequently Asked Questions
Is Hostinger good for WordPress beginners
Yes, Hostinger is one of the best WordPress hosting providers for beginners today.
Do I need technical knowledge to install WordPress on Hostinger
No technical knowledge is required. The auto installer handles everything.
Can I install WordPress multiple times on Hostinger
Yes, depending on your hosting plan, you can install WordPress on multiple domains or subdomains.
How long does it take to install WordPress on Hostinger
Usually less than two minutes using hPanel.
Is WordPress free on Hostinger
Yes, WordPress itself is free. You only pay for hosting.
Can I migrate an existing WordPress site to Hostinger
Yes, many Hostinger plans include free WordPress migration.